
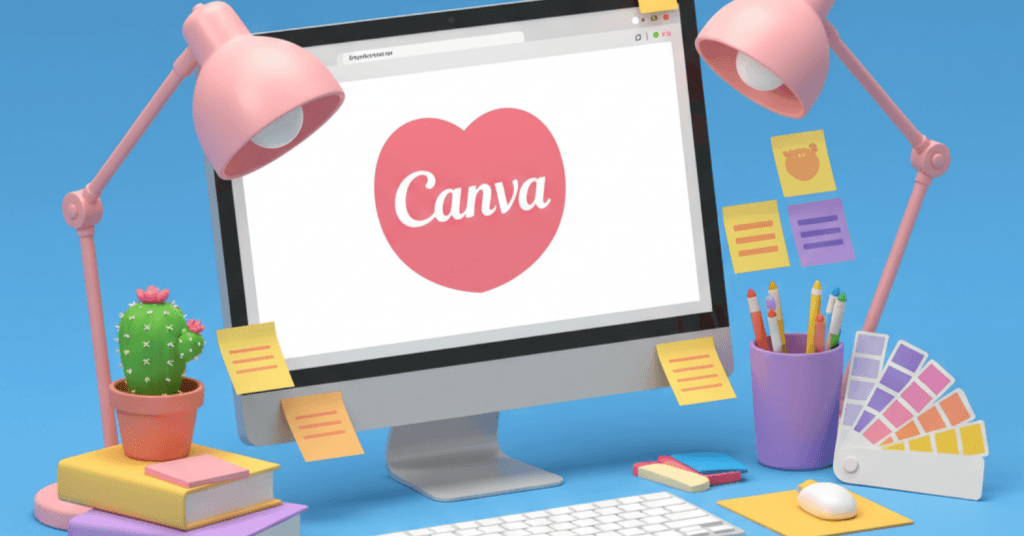
How to Make a School Presentation in Canva
Step-by-step Canva presentation tutorial for students and beginners. Learn how to create clean, professional slides for school projects
Introduction
This Canva presentation tutorial is for students who want to make simple, clean school slides without using PowerPoint. Canva is free, easy to learn, and gives you better-looking results in less time.
Step 1: Open Canva and Find a Presentation Template
Go to canva.com. If you don’t have an account, sign up for free. Once you’re in, use the search bar on the homepage and type “presentation.”
Canva will show you hundreds of templates. To narrow it down, click the “Education” filter on the left. These templates are built for student projects and class topics. You can also search by subject like “science,” “history,” or “book report.”
Pick a layout that looks clean. Stick with something simple if you’re presenting in class. Avoid too many colors or distracting graphics. Most templates come in 16:9 size, which works well on most screens and projectors.
Want to test this section or move to the next?
Step 2: Customize the Slides to Match Your Topic
Once you’ve picked a template, click Use This Template. Canva will open the editor with all the slides loaded.
Start with the title slide. Change the text to match your topic and name. You can edit by clicking on any text box. Use a short, clear title. For example: “The Solar System: A Basic Overview.”
Work through the rest of the slides. Most templates have layouts for:
- Section headers
- Bullet points
- Image and text combos
- Charts or diagrams
Edit the text first. Keep your points short and readable. Stick to one idea per slide. For your fonts, use clear ones like Open Sans, Lato, or Montserrat — these are free and easy to read.
To add images, click Elements or Photos on the left sidebar. Canva has a free library with lots of school-appropriate images. Use the search bar to find what fits your topic.
You can also upload your own images if needed. Click Uploads, then drag in your files.
Step 3: Use the Canva Presentation Tutorial Layout to Stay Organized
Your template will already have a structure, but it’s smart to tweak it for your needs. Most school presentations work well with a basic layout like this:
- Title slide
- Introduction or agenda
- Main content (3 to 5 slides)
- Summary
- Sources or Q&A
You can move slides around by dragging them in the left panel. To add new ones, click the + button at the bottom or duplicate an existing slide to keep the style consistent.
Use headers to guide your viewer. For example:
- “What Is the Solar System?”
- “Key Facts About Each Planet”
- “Why It Matters”
Stick to short phrases. Don’t overload slides with full sentences or too many bullet points. Let your voice or notes explain the details.
📸 [Insert screenshot of slide layout and structure edit here]
Step 4: Add Visuals to Support Your Content
A good school presentation shows, not just tells. Canva makes it easy to add visuals that help people understand your topic.
To add images or icons:
- Click Elements on the left sidebar.
- Type a keyword into the search bar. For example, “planets,” “cell structure,” or “timeline.”
- Drag any item into your slide.
For photos, click Photos in the same sidebar. Canva has a free image library you can use for most school topics. If you want to upload your own image, go to Uploads, then drag in a file from your computer.
You can also use Charts from the Elements tab. These are useful for topics that involve data. Choose a chart, then click on it to enter your numbers.
Keep visuals balanced. One or two strong images per slide is usually enough. Avoid placing too many things on one slide or using stock images that don’t add meaning.
Step 5: Present or Download Your Slides
Once your slides are ready, you have a few ways to present them. Canva gives you built-in tools for both live presentation and file download.
To present right in Canva:
- Click the Present button in the top right
- Choose Standard for full-screen mode
- Or choose Presenter View to see your notes while the audience sees your slides
This is helpful for rehearsals, group projects, or in-class presentations without needing PowerPoint.
You can also download your slides:
- Click Share, then Download
- Choose PDF for handouts
- Use PPTX if your teacher needs a PowerPoint file
- Pick MP4 if your slides include animations
Canva for students makes this process fast and easy. You don’t have to deal with file formatting or broken fonts. It just works.
📸 [Insert screenshot of present/download menu]
Quick Tips to Improve Your Canva Presentation
If you’ve followed this Canva presentation tutorial so far, you already have a strong structure in place. These tips will help you take it a step further:
- Use one font style throughout. Stick to a single font for titles and one for body text. Avoid mixing more than two.
- Balance your slides. Don’t crowd everything on one side. Keep your text and images evenly spaced.
- Pick one accent color. Canva templates usually come with a preset palette. Pick a main color and use it for highlights only.
- Test readability. Read each slide out loud. If it feels too long or confusing, trim it down.
- Use speaker notes. Click the “•••” under each slide to add notes. You can see these during live presentation mode.
Canva for students makes it easier to focus on your content without getting stuck in the design. These simple choices help your message come through clearly.
📸 [Insert screenshot of slide with clean layout and notes section]
FAQ: Using Canva for Student Presentations

Can I use Canva for free as a student?
Yes. Canva offers a solid free plan that works for most student needs. You get access to templates, fonts, images, and animations. You don’t need Canva Pro to follow this Canva presentation tutorial.
Can I collaborate with classmates on the same presentation?
Yes. Canva allows real-time collaboration. Click Share, invite your group by email, and everyone can edit the slides at once. This works well for group projects or class assignments with multiple people.
How do I add speaker notes in Canva?
Click on a slide, then click the “•••” menu under it. You’ll see a box for speaker notes. These won’t appear in your slides, but you’ll be able to view them in Presenter View when presenting live.
What file format should I use to submit a school presentation?
If your teacher wants a digital copy, download it as a PDF or .PPTX. If you’re presenting in class, use Canva’s Present feature — it works directly in your browser and keeps your formatting intact.
Can I use animations in Canva presentations?
Yes. Canva lets you animate text, elements, and slide transitions. Use simple effects like Fade, Pan, or Rise for a clean look. Avoid flashy effects unless they match your topic.
Does Canva offer tools made for schools?
Yes. Canva for students includes templates made for education — from science reports to history timelines. There’s also Canva for Education which gives teachers and students extra resources for classroom use.
Is Canva better than PowerPoint for students?
It depends on your needs. Canva is easier to use, especially for beginners. It has modern templates, fast editing tools, and works right in your browser. PowerPoint still works well, but Canva saves time and often looks better without much effort.
Can I present directly from Canva without downloading?
Yes. Just click the Present button in the top right corner. Choose Standard to go fullscreen, or Presenter View to see your notes while your audience sees only the slides.
Conclusion
Canva makes school presentations faster, simpler, and better-looking—especially for students who want results without spending hours on design. With the right layout and a few smart choices, you can focus on your ideas instead of fixing slides.
This Canva presentation tutorial gave you the steps to build a clean, readable deck from start to finish. Whether it’s a solo project or a group assignment, you now have a simple process that works every time.
Save this guide for your next presentation. Or send it to a classmate who still fights with PowerPoint.
Related Articles
Apr 21, 2025
Read more
How to Animate Instagram Stories with After Effects (Step-by-Step Guide)
Want to learn how to animate Instagram stories using After Effects? This step-by-step guide walks you through every move.

Apr 16, 2025
Read more
What Is Agentic AI? A Simple Guide to Automation
Learn what agentic AI is, how it works, and how teams are using it to automate smarter. Real examples and simple breakdowns.

Apr 16, 2025
Read more
What Is Agentic AI? A Simple Guide to Automation
Learn what agentic AI is, how it works, and how teams are using it to automate smarter. Real examples and simple breakdowns.

Apr 14, 2025
Read more
How to Train an AI Assistant in JavaScript (With OpenAI + Your Own Data)
Train your own AI assistant in JavaScript using OpenAI’s API. This guide walks through setup, code, and connecting it to real workflows.

Apr 10, 2025
Read more
Top 5 AI Workflows You Can Build Without Coding (2025 Edition)
Build smart, fast, and code-free. Discover 5 powerful AI workflows without coding that automate emails, content, hiring, and more in 2025.

Apr 08, 2025
Read more
Best AI Tools for Startups in 2025 That Actually Work
Discover the best AI tools for startups in 2025 to save time, scale faster, and stay focused, which helps founders work smarter.